


I mentioned in this post that we were refinishing some old furniture for our dining room. My husband has been bugging me to post an update about his progress and hard work, so here it is!

He started off with some oak wood planks from Home Depot. We liked the knotty, grainy look of the oak. They only cost around $50.




THEN....the best part!
He had asked me the day before how I wanted to finish the wood. He said he could just seal it as is, but I hate the look of raw wood. He said he could stain it, but I don't love that look either.
What I really love, from the bottom of my heart, is the look of this wood from Restoration Hardware:

I love the aged look of tables like this.
However, I do not love the thousand dollar price tag!
Fortunately, while blog surfing a few months ago, I came across this post on staining wood with steel wool and vinegar. Sounded kind of crazy, but I loved the look, which reminded me of the Restoration Hardware table.
So I told my husband I wanted to stain the table with vinegar...and he looked at me like I had finally completely lost my mind.
But being the wonderful husband that he is, he did some research about it on his own. He liked what he saw and decided to give it a try. Of course he took it to the next level and learned more about it than me. The stain process is called Ebonizing. The iron in the steel wool reacts with the tannins in the wood, to create that aged look. It stains the fibers of the wood instead of just sitting on top like regular stains, so it's really durable. You need to use a wood with a high tannic acid content, which oak has, so we got lucky since that's what we already had picked out.
To make the stain, you soak pads of steel wool in vinegar, for at least overnight up to a week or so. More rust equals darker stain. Since we had a Thanksgiving dinner to serve to my family the next day and no table, we just went with an overnight soak. I read from some sources that apple cidar vinegar is best, but distilled white vinegar is fine and what we used (I use white vinegar as a fabric softener for my laundry and to destink my cloth diapers so always have a lot on hand...in case you ever wondered who it is that buys those giant jugs of white vinegar, it's me). You can also add a rusty nail to the mix, but we didn't.
My husband also read about using brewed tea as a stain, so he decided to give that a try too. The tea has a high tannic acid content it adds to the wood. He did some test pieces ahead of time with various combinations of the tea and vinegar stain. We liked the look of a coat of tea followed by the vinegar. He did one coat of tea followed by 2 coats of vinegar.

Now, here's the thing. The stain takes awhile to develop. My husband said he put on the coats of stain...and then stood there like an idiot holding vinegar in one hand and tea in the other...with a wood table top that look exactly the same! Luckily, before he went inside to scold me for a stupid idea, he went and cut the grass.
By the time he came back the table had started to darken. He ran in the house, shouting like a kid on Christmas morning..."Honey!! Drop everything and come look at the table!!!!" So I ran out..and it really was like Christmas morning. I had my dream table finally!!!

So this is the stain reaction a few hours after application, while it was still drying and processing. But already looked great! We brought it in the house and it continued to darken for the next few days. Heat seemed to speed up the process. Pretty cool!! We LOVE it.! The tea gave it a red tint, almost a purple in some spots. To get a darker stain, you'd need to let the steel wool sit longer in the vinegar, but we didn't want it too dark.


And for the legs, he painted them using the same technique as the dining room antique dresser, with a coat of white paint followed by finishing glaze rubbed on and wiped off.
The table is currently in the garage with the finishing seal drying. I can't wait to show you the finished product soon!!! :)

He started off with some oak wood planks from Home Depot. We liked the knotty, grainy look of the oak. They only cost around $50.

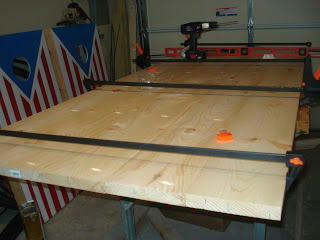
For the wood planks he drilled slits in the side of the planks and joined them all together with these biscuits, wood glue, and screws.

And stuck in these wood joining biscuits with wood glue. He explained that the biscuits are made of compressed sawdust that will expand in the slots. He cut the slots with a biscuit joiner tool.
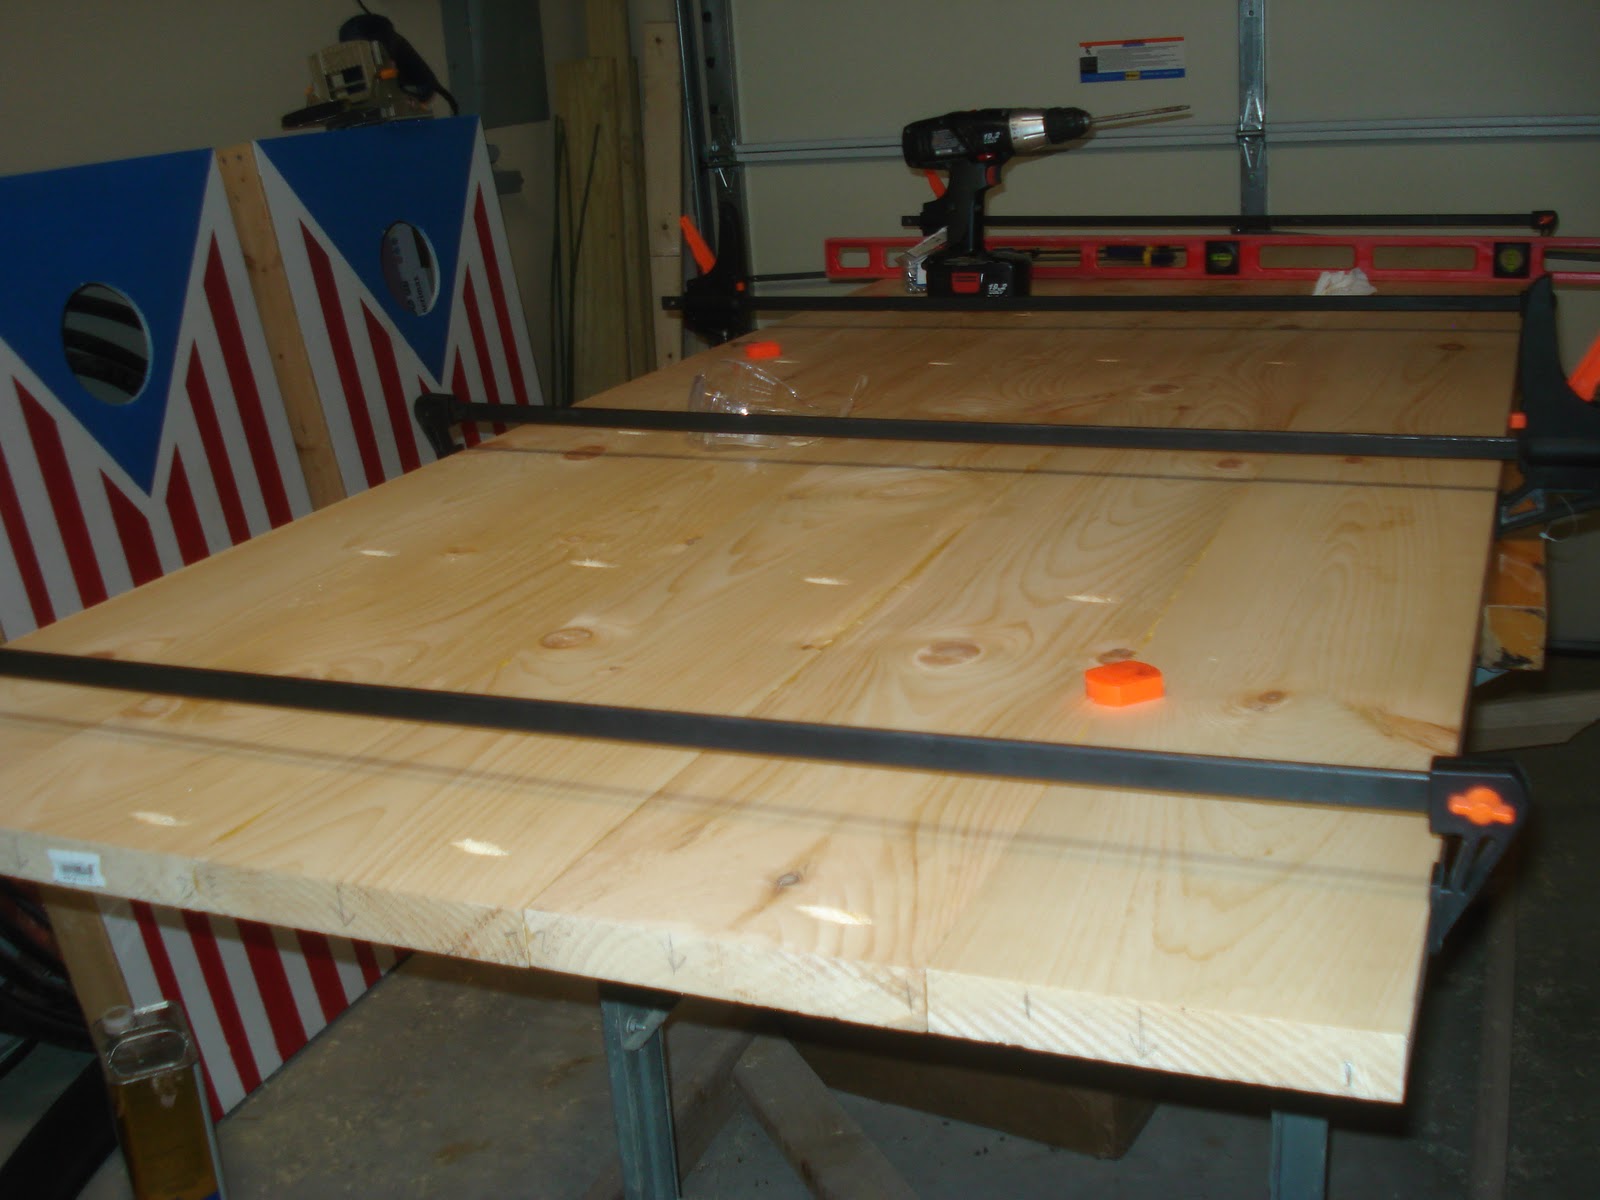
Then he clamped it all together with these big wood clamps and let the glue dry.

To make it extra secure, he put in some screws between the pieces on the bottom. Like the abnormally fast and focused worker he is, this all took him a half day. (checked with my husband, they are called pocket screws).

Then he took this sharp razor-y tool and smoothed the entire thing down by hand, taking off these tiny shavings. I'm sure there's a more technical name for all this. I'll have to ask him and get back to you on that.
(Ok, I asked, it's called a hand plane. It's a Stanley #6, if that means anything to anyone. He said they are really expensive new and don't work very well.. instead find an antique one on ebay like he did and sharpen the blade. They just don't make hand planes like they used to I guess :)
THEN....the best part!
He had asked me the day before how I wanted to finish the wood. He said he could just seal it as is, but I hate the look of raw wood. He said he could stain it, but I don't love that look either.
What I really love, from the bottom of my heart, is the look of this wood from Restoration Hardware:
I love the aged look of tables like this.
However, I do not love the thousand dollar price tag!
Fortunately, while blog surfing a few months ago, I came across this post on staining wood with steel wool and vinegar. Sounded kind of crazy, but I loved the look, which reminded me of the Restoration Hardware table.
So I told my husband I wanted to stain the table with vinegar...and he looked at me like I had finally completely lost my mind.
But being the wonderful husband that he is, he did some research about it on his own. He liked what he saw and decided to give it a try. Of course he took it to the next level and learned more about it than me. The stain process is called Ebonizing. The iron in the steel wool reacts with the tannins in the wood, to create that aged look. It stains the fibers of the wood instead of just sitting on top like regular stains, so it's really durable. You need to use a wood with a high tannic acid content, which oak has, so we got lucky since that's what we already had picked out.
To make the stain, you soak pads of steel wool in vinegar, for at least overnight up to a week or so. More rust equals darker stain. Since we had a Thanksgiving dinner to serve to my family the next day and no table, we just went with an overnight soak. I read from some sources that apple cidar vinegar is best, but distilled white vinegar is fine and what we used (I use white vinegar as a fabric softener for my laundry and to destink my cloth diapers so always have a lot on hand...in case you ever wondered who it is that buys those giant jugs of white vinegar, it's me). You can also add a rusty nail to the mix, but we didn't.
My husband also read about using brewed tea as a stain, so he decided to give that a try too. The tea has a high tannic acid content it adds to the wood. He did some test pieces ahead of time with various combinations of the tea and vinegar stain. We liked the look of a coat of tea followed by the vinegar. He did one coat of tea followed by 2 coats of vinegar.

So here are the stains. From everything I read, it's best to do the steel wool/vinegar reaction in a glass jar. We used an empty applesauce jar from the recycling bin here. You can see the test stains on the wood at the bottom of the picture. The tea gave it a redder look, which we like. He used English breakfast tea, not sure if that matters. Probably a black tea is best.
Now, here's the thing. The stain takes awhile to develop. My husband said he put on the coats of stain...and then stood there like an idiot holding vinegar in one hand and tea in the other...with a wood table top that look exactly the same! Luckily, before he went inside to scold me for a stupid idea, he went and cut the grass.
By the time he came back the table had started to darken. He ran in the house, shouting like a kid on Christmas morning..."Honey!! Drop everything and come look at the table!!!!" So I ran out..and it really was like Christmas morning. I had my dream table finally!!!

So this is the stain reaction a few hours after application, while it was still drying and processing. But already looked great! We brought it in the house and it continued to darken for the next few days. Heat seemed to speed up the process. Pretty cool!! We LOVE it.! The tea gave it a red tint, almost a purple in some spots. To get a darker stain, you'd need to let the steel wool sit longer in the vinegar, but we didn't want it too dark.

Brian painted the frame from the old table and screwed it in the old. The new table is a lot bigger, so there is some space. He said he may eventually make a drawer to put in there or something, but I can live with it like this for now.

And for the legs, he painted them using the same technique as the dining room antique dresser, with a coat of white paint followed by finishing glaze rubbed on and wiped off.
The table is currently in the garage with the finishing seal drying. I can't wait to show you the finished product soon!!! :)
 I love


![[turkeyboy001.jpg]](https://blogger.googleusercontent.com/img/b/R29vZ2xl/AVvXsEjBy8nXzneuOGLFTnMIA4J-5-dDarJZJlfLJN5JX60NOzNVXFGa84tBoJJJumS2hfPU2Zt9Rp0846_2W7omcBHRPu3HTKeR2yHnDr-wnGHAg54i_pXQaS1tiC-twbpVU1XsLa276uzLGiBw/s320/turkeyboy001.jpg)
 .
.


